Table of Contents
Steam Workshop at Launch
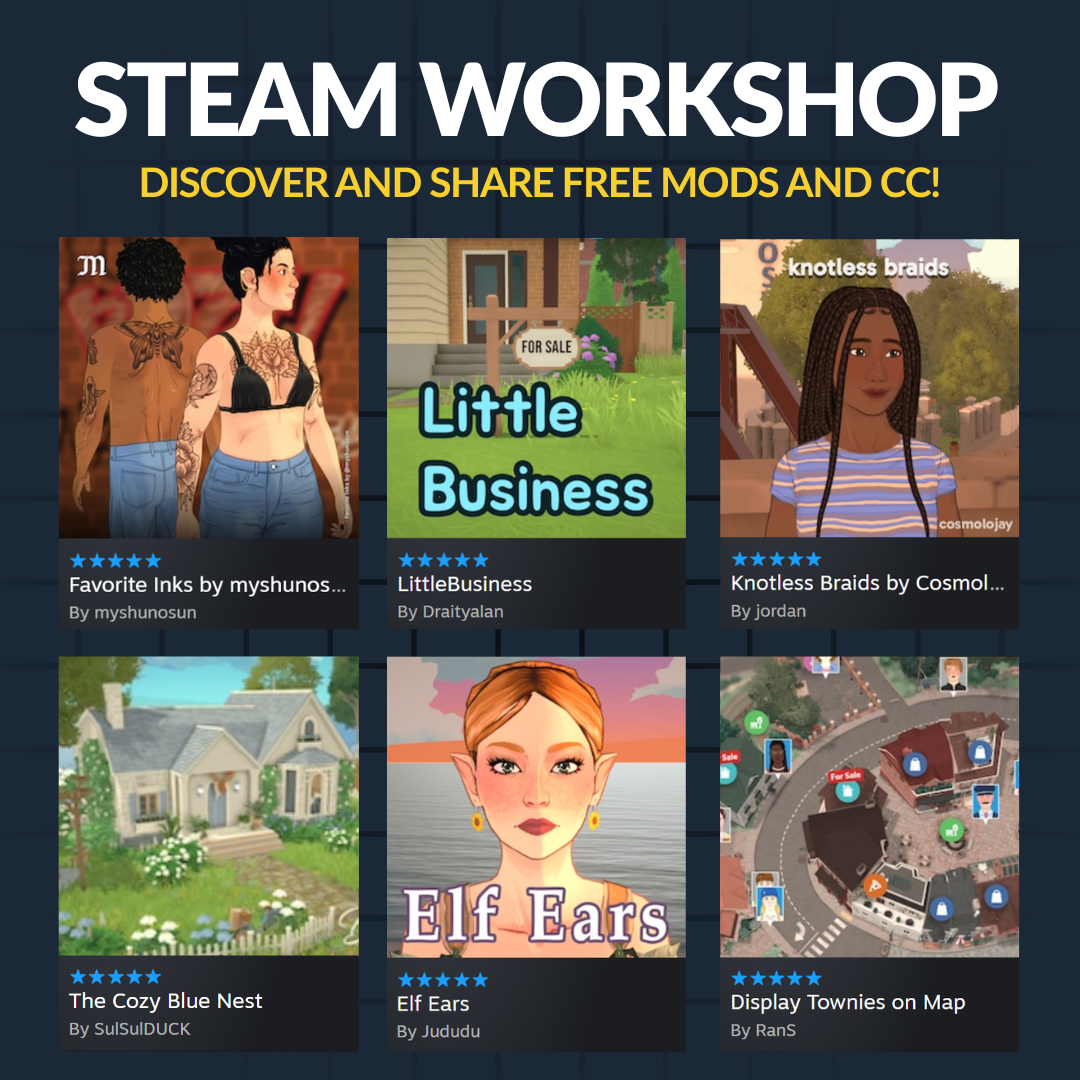
Paralives launched with Steam Workshop support active on day one — and honestly, that puts it way ahead of most EA titles. Within hours of launch, community-made content was already popping up on the Workshop. The modding system focuses mainly on object and furniture mods right now, with deeper modding tools planned for future updates.
Now, if you're coming from The Sims 4 with its deep script mods and gameplay overhauls — Paralives' Workshop is a different beast. It's more accessible for first-time modders while still giving you meaningful content to play with. Think of it as a gentler entry point into modding. You don't need a computer science degree to make something cool here.
What's Moddable at Launch
Objects · Furniture · Build elements · Clothing · Decorations · Community lots (via export) · Parafolk appearances
`n`nFinding & Subscribing to Mods
Through Steam Client
- Open your Steam library and find Paralives
- Right-click the game and select Browse Local Files to find your game directory
- Or just search "Paralives Workshop" on Steam's website to browse curated collections
- Browse by category: Furniture, Clothing, Build Elements, Townies, whatever you're into
- Hit Subscribe on any mod and it auto-downloads and installs. Easy peasy.
Through the In-Game Mod Browser
You can actually access the Workshop straight from inside Paralives through the main menu. Browse mods, check previews, see compatibility notes, subscribe — all without ever alt-tabbing out of the game. It's super convenient.
Subscription Tip: Don't go subscribing to everything at once like a kid in a candy store. Enable mods in small batches and test between each addition. If things break or crash, you can disable them one by one to find the culprit. Trust me, this saves so much headache later.
`n`nTypes of Mods Available
Furniture & Objects
The most common type of mod by far. Custom sofas, beds, tables, kitchen stuff, bathroom fixtures, specialty items — basically anything that expands the Build Mode catalog. Look for themed packs (modern, rustic, fantasy vibes) or specific items people have requested.
Most Common Beginner-FriendlyClothing & Accessories
Custom outfits, hairstyles, makeup, accessories for your Parafolks. Since Paralives uses gender-neutral clothing (which is awesome), any clothing item works on any character. Popular mods include historical outfits, fantasy costumes, and everyday fashion expansions. The Paramaker community is already going hard on this.
Popular Paramaker RequiredBuild Elements
Custom wall patterns, floor tiles, ceiling textures, roofing styles, decorative trim — these are the backbone of creative builds. They let you pull off architectural styles that are flat-out impossible with just the base game catalog. If you have a specific aesthetic in mind, build element mods are your best friend.
Essential for BuildersParafolk (Townies)
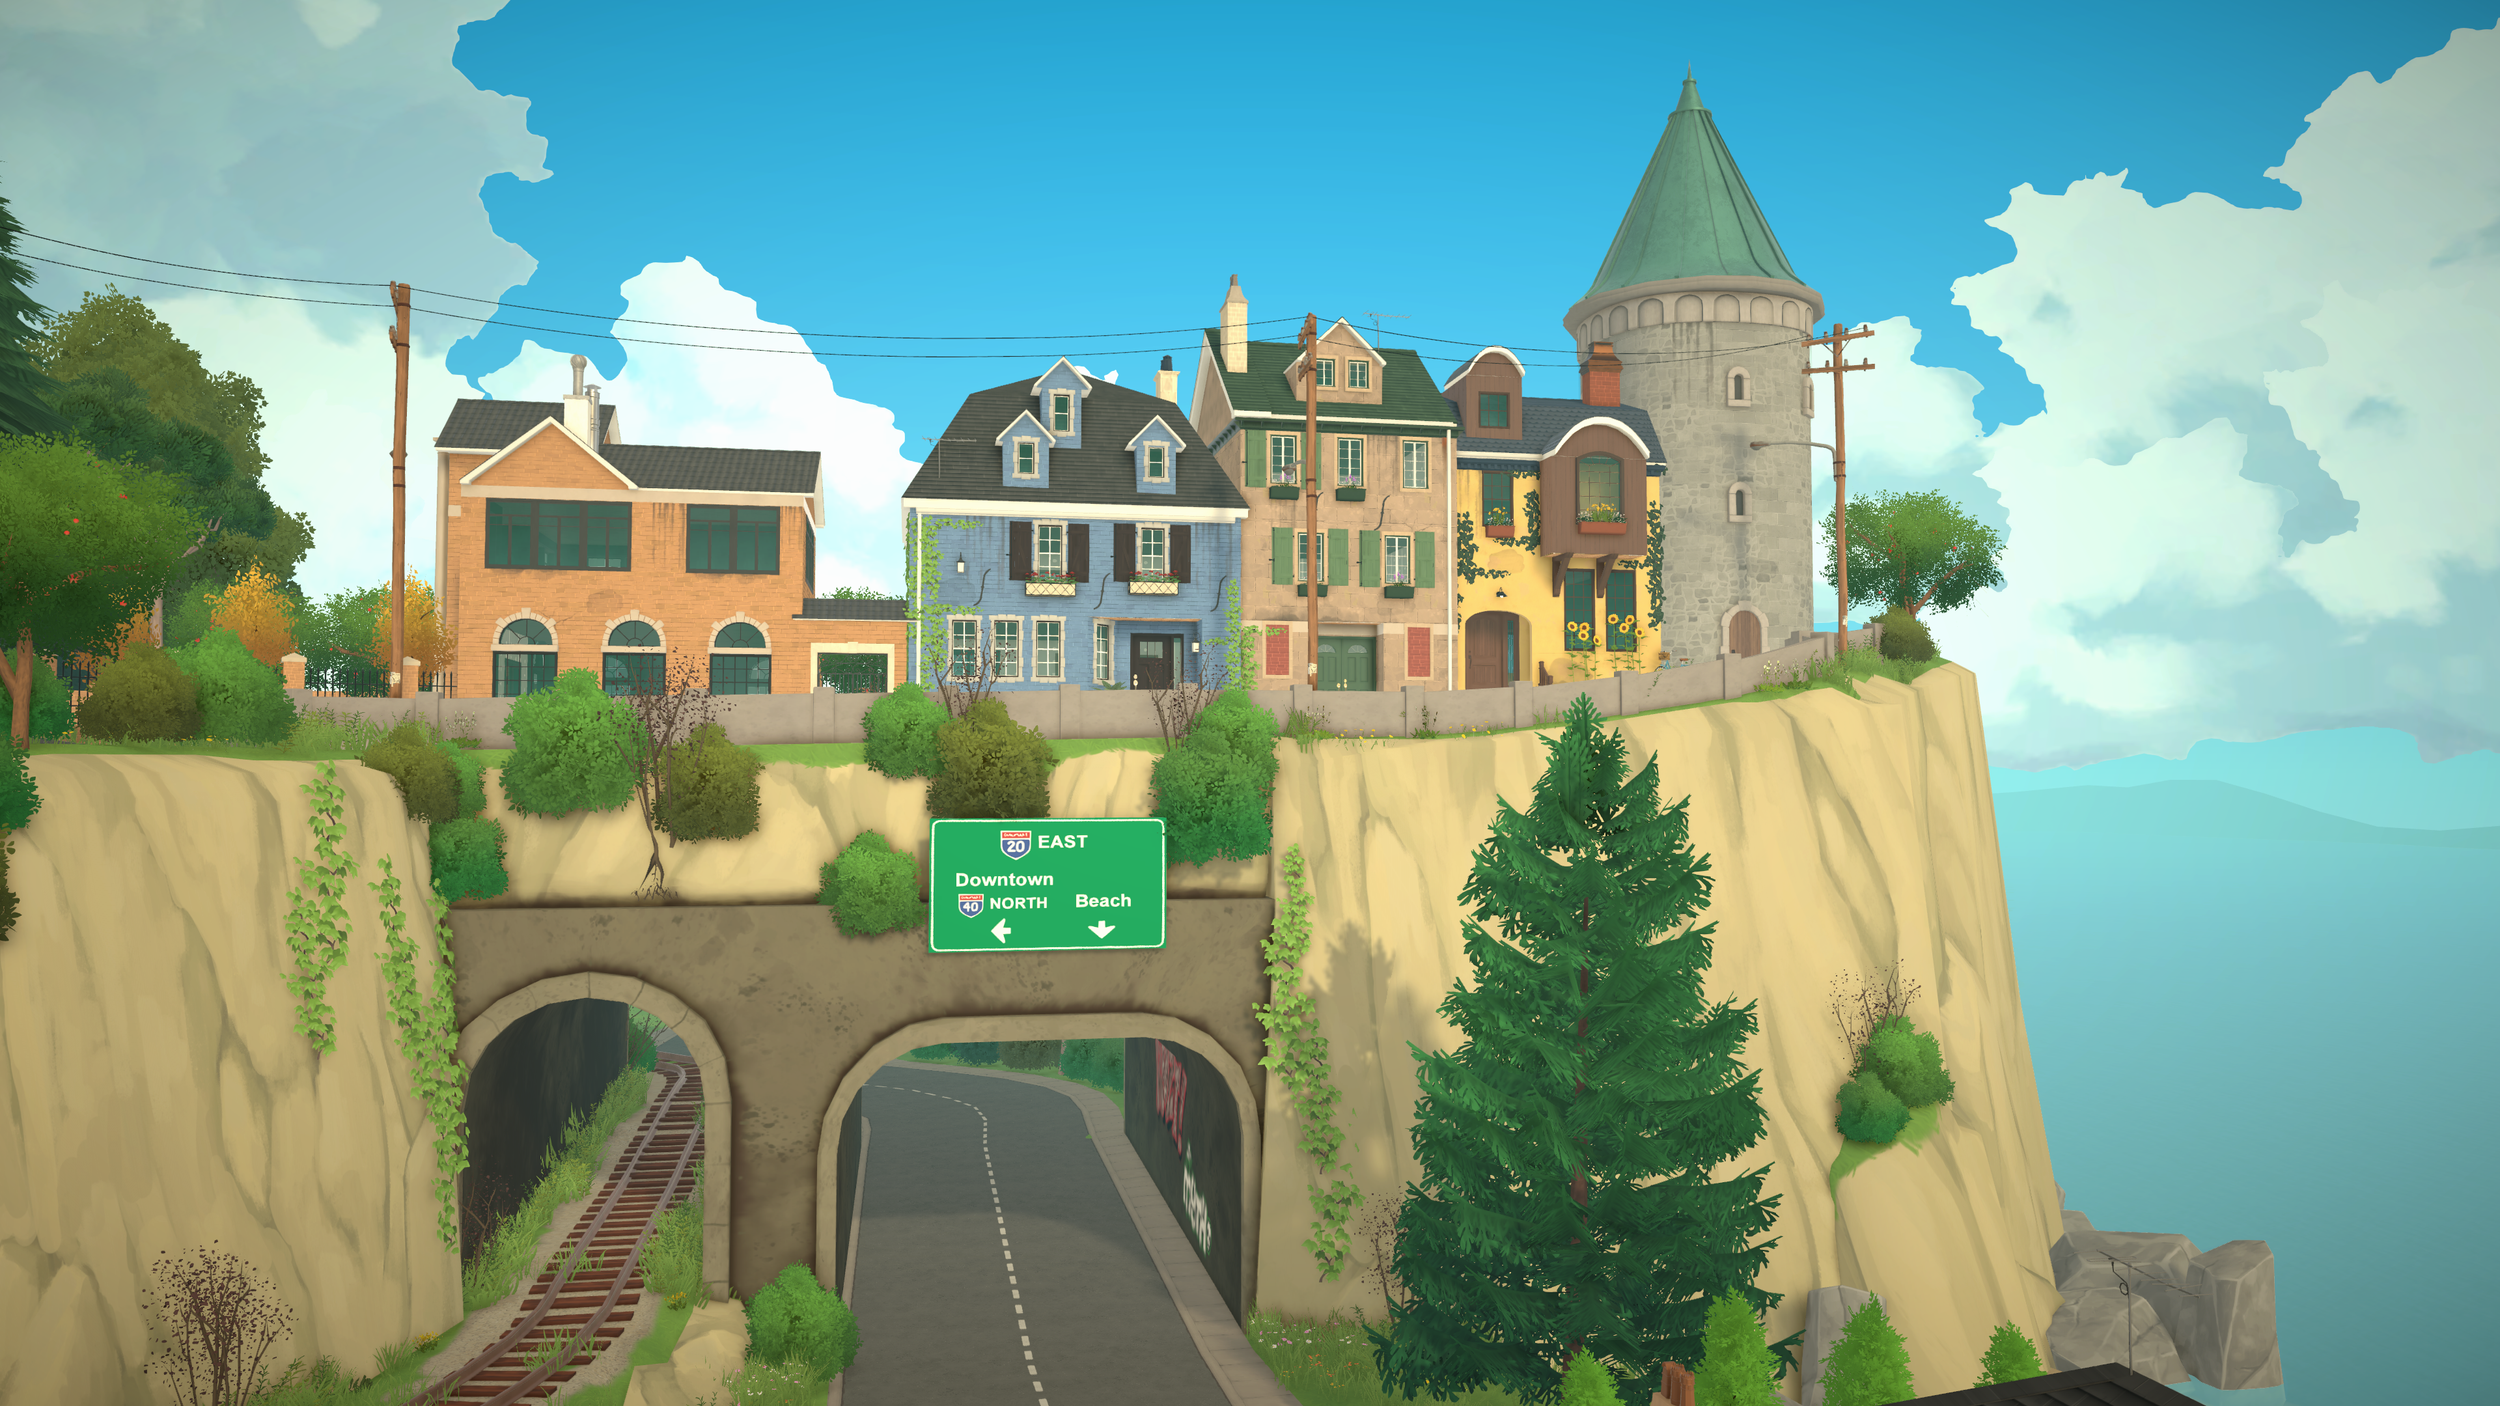
Custom-created NPC Parafolks who populate Melino. Swap out the default townies for unique characters or add extra NPCs to make the town feel more alive and varied. Great if you're tired of seeing the same faces walking around town.
Community ContentCommunity Lots
Pre-built spaces like cafes, parks, libraries, gyms, shops that you can drop into your game. Full lot export is planned for a future update — right now, community lot mods come as separate download packages. Still super useful though.
Planning StageAudio & Music
Custom music tracks, ambient sounds, radio station content. Let your Parafolks jam to unique background music in their homes and around Melino. Niche category but some really talented audio folks in the community.
NicheCreating Your Own Mods
Getting Started
Here's what's cool about Paralives modding — it uses an in-game Modding Interface. The devs built modding tools directly into the game engine instead of making you download external software and learn Blender from scratch. This makes it way more approachable if you've never made a mod before.
Basic Modding Steps
- Enable Developer Mode: Go to main menu settings and toggle Developer Mode on. This unlocks the modding tools in your Build Mode catalog. It's like finding a secret menu.
- Create a New Object: Navigate to whatever object you want to make in Build Mode, right-click it, and select "Create New Object" from the context menu.
- Add Mesh & Textures: Import or create 3D models and slap textures on 'em. The game supports standard 3D formats so you're not locked into some proprietary nonsense.
- Configure Swatches: Add color variations using the color wheel system — same way the base game handles it. Consistency is key here.
- Set Object Properties: Define how the thing behaves, what animations it uses, price point, category, any special functionality. This is where you make it feel like a real game object.
- Tag for Workshop: Add tags and a description so people can actually find your mod. Good tagging is half the battle for visibility.
- Export to Workshop: Use the built-in export tool to publish straight to Steam Workshop. One click and you're live.
Start Small: Make something simple first — like a custom lamp or a plant pot. Learn the workflow on a basic object before trying to tackle complex stuff with multiple animations and interactions. I learned this the hard way after spending six hours on a complicated piece that broke in weird ways.
Clothing & Parafolk Modding
Clothing items get made through the Paramaker interface with Developer Mode enabled. Here's what you can do:
- Design custom outfits using existing clothing templates as a base
- Create new body overlays and accessories from scratch
- Set layering compatibility so your item plays nice with other clothing pieces
- Define which life stages can wear each item (babies/toddlers have restricted options)
Modding Tools Overview
| Tool | Purpose | Location |
|---|---|---|
| In-Game Modding Interface | Create objects, clothing, and content | Build Mode (Developer Mode) |
| Paramaker Modding | Create clothing and accessories | Character Creator (Developer Mode) |
| Workshop Browser | Browse, subscribe, and manage mods | In-game + Steam client |
| Color Wheel Export | Share custom color palettes | In-game |
| Lot Export Tool | Share community lots (planned) | In-game (future update) |
Mod Best Practices
- Check mod compatibility: Some mods will butt heads if they touch the same game files. Always read the descriptions for compatibility notes before subscribing.
- Keep your mods organized: If you're running a lot of mods, use a mod manager or at least keep notes on which ones are active. Future you will thank present you.
- Stay updated: Mod creators push updates when the game patches. Re-subscribe or re-download after major updates to keep things running smooth.
- Respect mod licensing: Most Paralives mods are for personal use only. Check each mod's license before republishing or including someone else's work in your own stuff.
- Credit where it's due: If you use someone else's mod as a base for your own creation, credit the original creator. It's just good manners and the community respects that.
- Test before publishing: Actually play with your mod for a while before sharing it. Make sure interactions work, animations play right, and there are no visual glitches. Nothing worse than downloading a broken mod.
- Write good descriptions: Include game version compatibility, required dependencies, and clear install instructions in your Workshop post. People will love you for it.
Troubleshooting Mods
- Game crashes on load: Disable all mods first, then re-enable them one by one until you find the troublemaker. Report it to the mod creator — they usually appreciate the bug report.
- Mod won't show up in game: Verify it downloaded properly through Steam. Also check if Developer Mode is interfering — some mods only work with it on or off specifically.
- Visual glitches: Probably not compatible with the current game version. Check for updates or disable it until the creator pushes a fix.
- Mods fighting each other: Some combinations just don't get along. Check the Workshop pages for known conflicts — most creators list them.
- After game updates: Big patches tend to break mods temporarily. Don't panic — wait for mod creators to release updated versions before updating your game, or be prepared for some broken stuff.
Community Resources
The Paralives modding community is super active over on Reddit (r/Paralives), Discord, and of course the Steam Workshop itself. Hop into these communities to find tutorials, ask questions when you're stuck, and discover new content. The community's genuinely helpful — none of that gatekeeping garbage.