Table of Contents

Build Mode Gameplay Demonstration
Section 1: Entering Build Mode
Build Mode is where you design and construct your Parafolk's home. You can access it in two ways:
- From Live Mode: Click the hammer icon in the top-right toolbar or press the B keyboard shortcut (default binding).
- From World View: Select any empty lot and choose "Enter Build Mode" from the context menu.
When you first enter Build Mode on an empty lot, you'll see the construction grid overlaid on the ground plane. This grid helps you place walls, floors, and objects precisely. The interface shows:
- Left toolbar: Wall tools, floor tools, terrain tools, stair/roof tools
- Bottom toolbar: Furniture catalog, decorations, build category browser
- Right panel: Properties inspector for selected objects (dimensions, colors, materials)
- Top bar: Undo/redo, save, test mode toggle, lot info
Keyboard Shortcut: Press B to toggle between Live Mode and Build Mode instantly. This is essential for testing your layout as you build — pop into Live Mode to check if furniture is accessible, then back to Build Mode to adjust.
`n`nSection 2: Wall Tools — The Foundation of Every Build
Walls are the backbone of your house. Paralives offers two primary wall types that give you incredible creative freedom.
Straight Walls
The most basic and commonly used tool. To create a straight wall:
- Select the Straight Wall tool from the left toolbar
- Click anywhere on the grid to start the wall
- Drag to your desired length — walls snap to the grid by default
- Release to place. The wall appears instantly with default height and material
Straight walls can be any length — there's no maximum. You can create a single 100-meter wall if you want (though we don't recommend it for practical houses!).
Curved Walls
This is where Paralives truly shines compared to other life sim games. Curved walls let you create organic, flowing architecture:
- Select the Curved Wall tool from the left toolbar
- Click to set the starting point
- Drag outward — the further you drag, the wider the curve's radius
- Move your mouse to adjust the arc angle while dragging
- Release to place the curved segment
Curve Tips
Small radius + wide angle = tight curves (great for round rooms, bay windows). Large radius + narrow angle = gentle arcs (perfect for curved hallways, rounded building corners). Combine multiple curved segments to create S-curves and complex organic shapes!
Wall Height Adjustment
After placing any wall, select it and use the height slider in the properties panel. Standard ceiling height is ~2.8m (9 feet), but you can adjust from 2.4m up to 5m+ for grand spaces. Different rooms can have different ceiling heights on the same story using the split-level system.
Section 3: Floor Tools & Split Levels
Floors define the usable surface area inside your walls. Paralives' floor system supports one of its most powerful features: split levels.
Placing Floors
- Select the Floor tool and click inside any enclosed wall area
- Fills the entire room automatically — no manual edge-drawing needed
- Apply patterns, colors, and materials via the properties panel
- Floors snap to wall boundaries automatically when walls move
Split Levels — The Game Changer
Split levels allow you to have different floor heights within the same story. This means you can create:
- A sunken living room (2 steps down from the main level)
- A raised kitchen platform
- A split-entry foyer
- A multi-level open-concept great room
To create a split level:
- Place a normal floor in your main area
- Select a subsection of the floor (drag to select)
- Use the elevation controls to raise or lower it by increments (typically 15cm / 6 inches per step)
- The game automatically generates connecting steps or ramps between levels
Pro Tip: Split levels are perfect for creating realistic modern homes. A common pattern is: Entry at mid-level, living room slightly lower (cozy feel), kitchen/dining at main level, and bedrooms on a slight raise. Use 2-3 step differences for natural flow without needing full staircases everywhere.
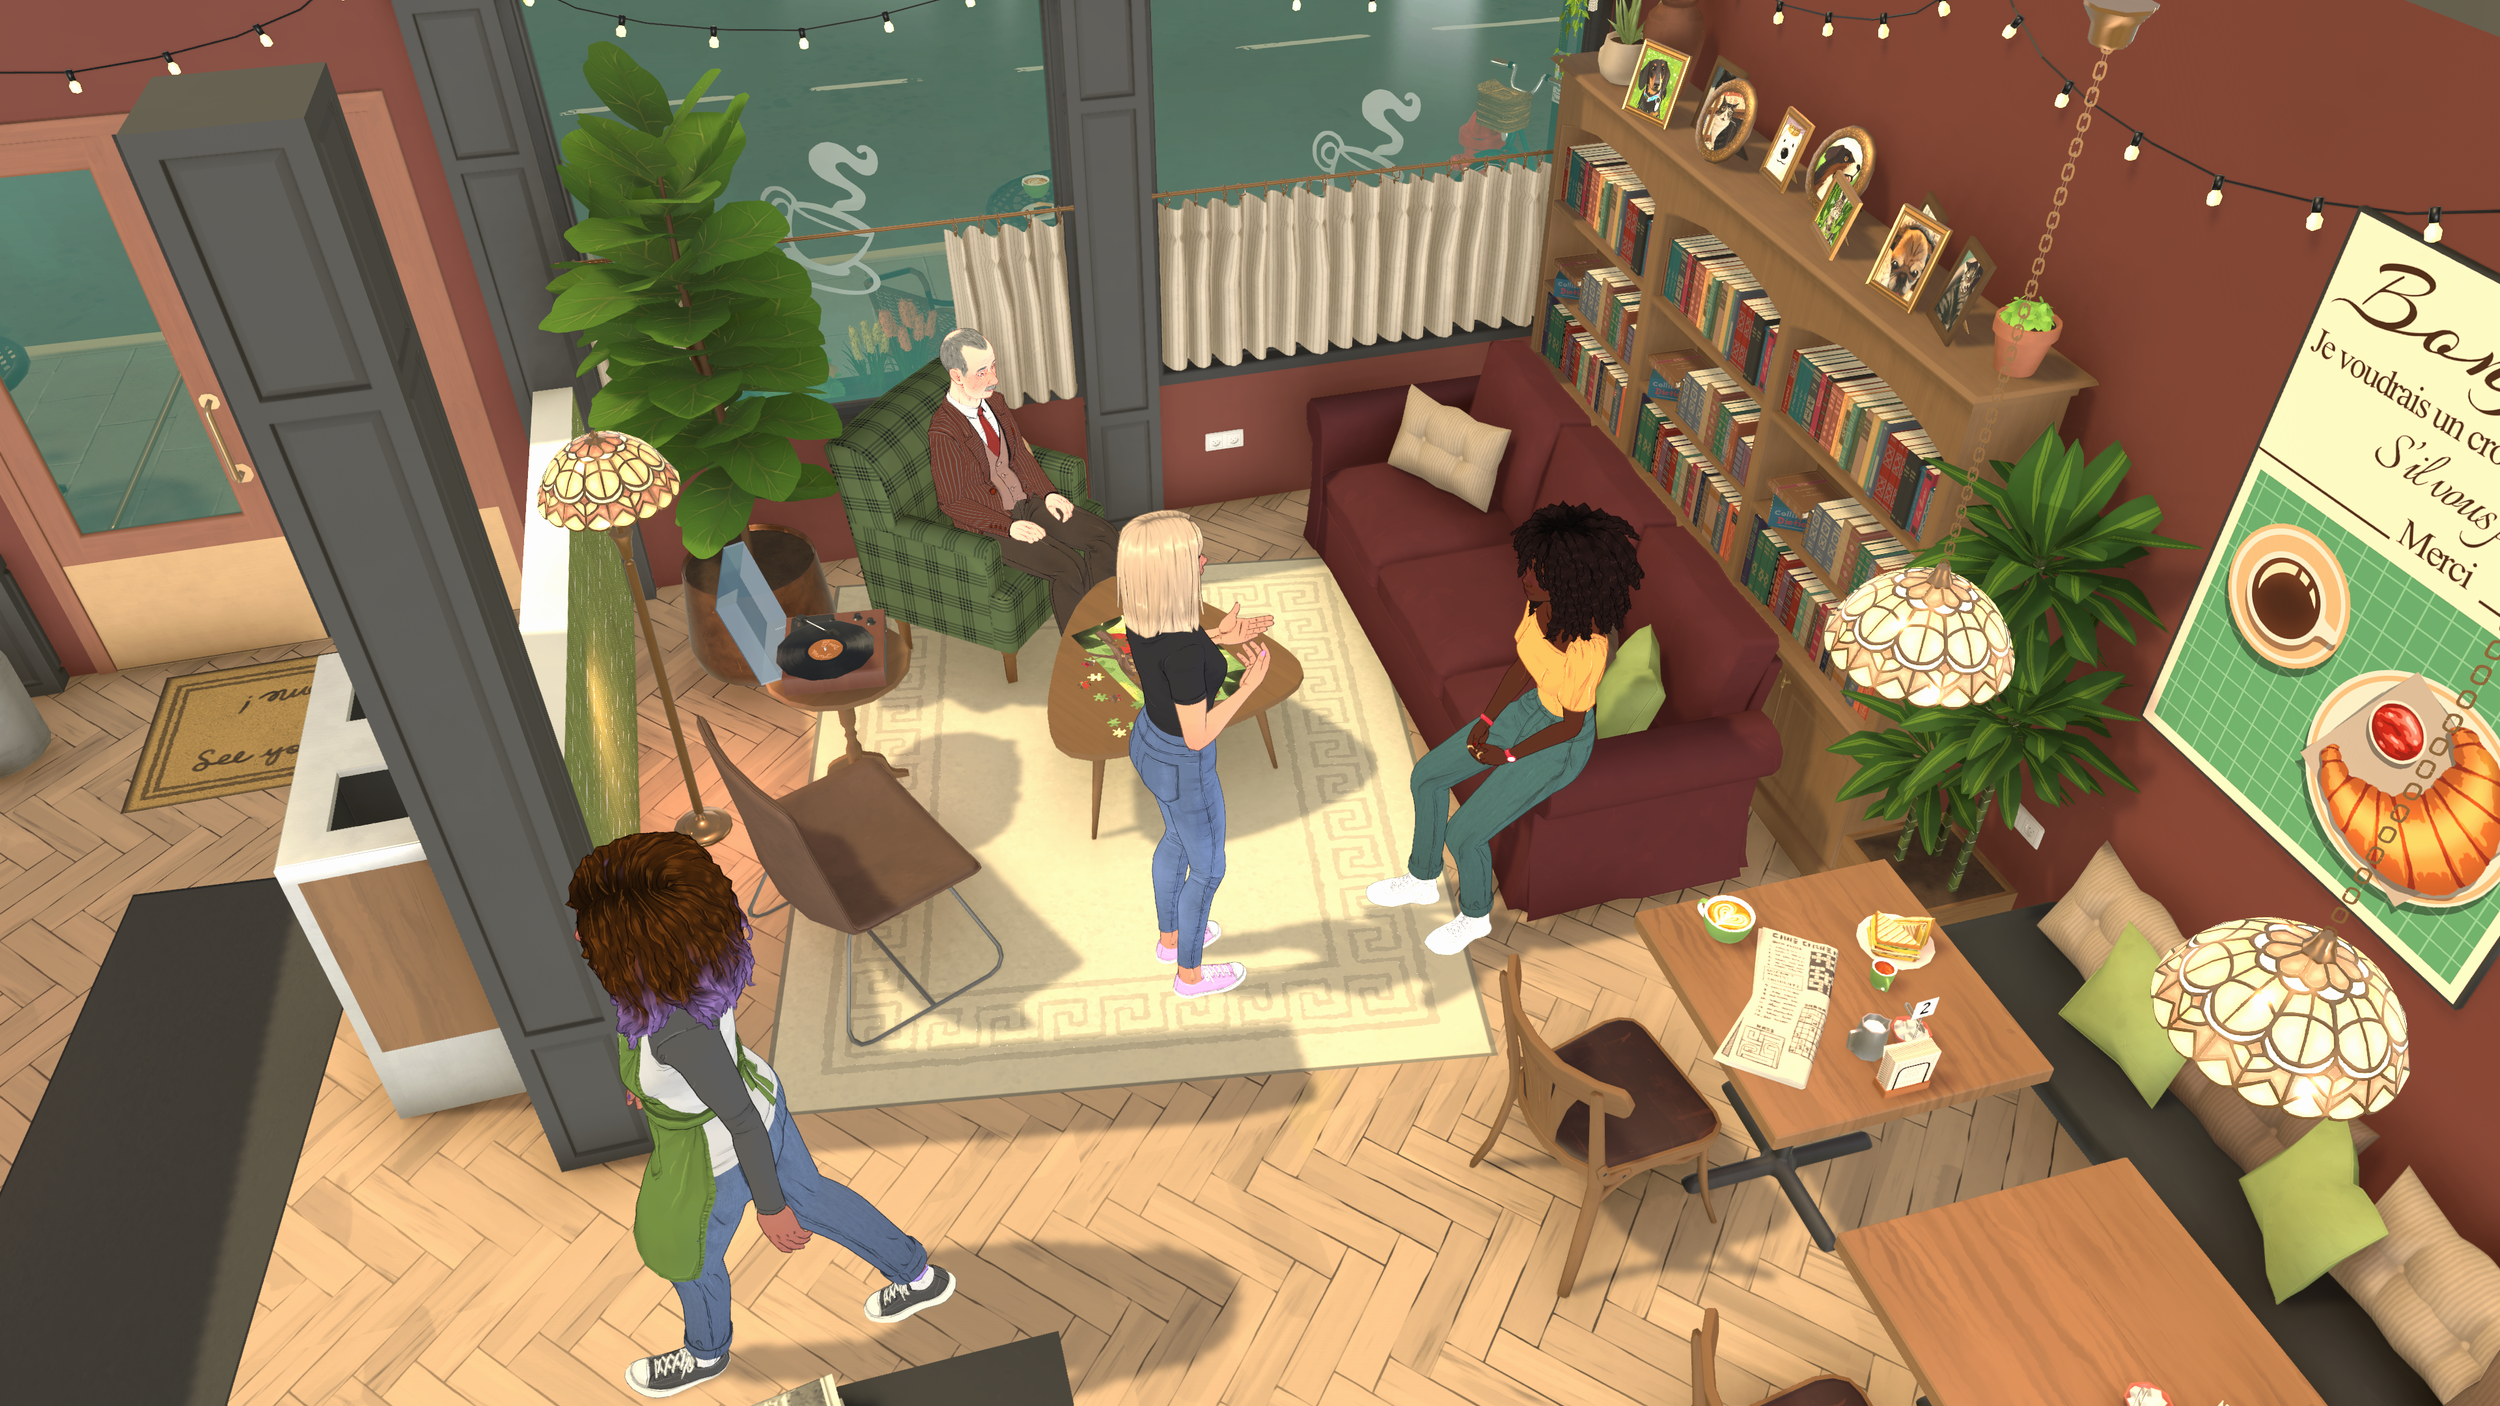
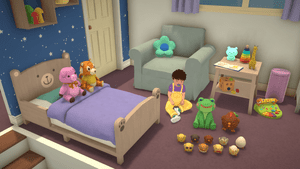
`n`nSection 4: Furniture Placement System
Paralives' furniture system is designed for maximum flexibility. Unlike games that lock items to a grid, Paralives gives you precise control over every object.
Free-Angle Rotation
Every piece of furniture can be rotated to any angle, not just 45° or 90° increments. Select an object and drag the rotation handle (curved arrow) to spin it freely. Hold Shift while rotating to snap to 15° increments for precision.
Resize by Dragging Anchors
Many furniture items have resize anchors — small handles on the edges and corners that let you stretch or shrink the object. A sofa can become a loveseat or a sectional. A table can go from small side table to dining table size. This eliminates the need for multiple "size variants" of the same item.
Stacking Objects
You can stack objects on top of each other within reason. Place a lamp on a table, books on a shelf, decor items on cabinets. The game uses collision detection to prevent impossible placements but allows reasonable stacking for decoration purposes.
Elevation Placement
Use the elevation control (up/down arrows in the properties panel) to place items at any height. Hang pictures at eye level, mount TVs high on walls, place floating shelves — the Z-axis is fully under your control.
Section 5: Color Wheel in Build Mode
The same powerful color wheel from Paramaker is available throughout Build Mode. Apply custom colors to:
- Walls: Interior and exterior wall surfaces independently
- Floors: Each floor section can have its own color/pattern
- Furniture: Recolor any furniture item to match your design scheme
- Roofs: Roof tiles, shingles, and metal roofing colors
- Trim & accents: Baseboards, crown molding, door frames, window frames
Saving Custom Palettes
Once you've created a color scheme you love, save it as a custom palette! Click the "Save Palette" button in the color picker, give it a name (like "Coastal Blue Theme" or "Warm Sunset"), and apply it to future builds instantly. You can save up to 20 custom palettes per save file.
Section 6: Measuring Tape Tool
One of Build Mode's most unique features is the Measuring Tape Tool. Activate it from the left toolbar, and you can measure any distance in your build with real-world units (metric or imperial, based on your settings).
This tool is incredibly useful for:
- Recreating real house plans: Import a floor plan image as reference and use the measuring tape to match dimensions exactly
- Ensuring code compliance: Check that doorways are wide enough (minimum 80cm recommended), hallways are passable (minimum 90cm), rooms meet minimum sizes
- Furniture spacing: Measure distances between objects to ensure comfortable layouts (sofa to TV should be ~2-3m, dining chairs need ~60cm each)
- Proportional accuracy: Keep your build looking realistic by maintaining proper scale relationships
Real-World Scale Reference
Standard door height in Paralives = 2.1m (7ft). Standard countertop height = 0.9m (36in). Standard stair rise = 18cm (7in). Use these reference points to gauge whether your build feels appropriately scaled.
`n`nSection 7: Terrain Editing
Your lot isn't limited to flat ground. The Terrain Editor lets you sculpt the landscape around and even under your house.
Raising & Lowering Ground
- Select the Terrain Raise/Lower tool
- Click and drag across the ground to sculpt
- Larger brush size = broader changes; smaller brush = fine detail work
- Create hills, valleys, slopes, and terraced gardens
Creating Hills and Slopes
Combine terrain editing with split-level builds for dramatic effects. Build a house into a hillside, create a sloped driveway, design terraced landscaping with retaining walls. The terrain tool also affects how water flows on your lot (for future pool/pond features).
Note: Extreme terrain changes can affect pathfinding. Make sure slopes aren't too steep for Parafolks to walk on, and always include flat pathways between buildings and the street.
`n`nSection 8: Stairs & Roofs
Connecting Split Levels with Stairs
When you create split levels, Paralives automatically suggests stair placements. You can also manually place stairs:
- Select the Stair tool from the left toolbar
- Choose style: Straight, L-shaped, U-shaped, Spiral, or Custom
- Click at the lower level edge and drag to the upper level edge
- The stair automatically calculates the number of steps needed based on height difference
Roof Placement Basics
Once your walls are complete, add a roof to finish the structure:
- Select the Roof tool and click inside your walled area
- Choose roof type: Gable, Hip, Flat, Mansard, Dome, or Custom
- Adjust pitch (steepness), overhang depth, and gutter placement
- Apply roofing materials: shingles, metal tiles, thatch, or custom textures
Section 9: Building Tips — 10 Pro Tips from Community Builders
- Start with the footprint first. Before adding details, lay out all exterior walls to get the overall shape and size right. It's much easier to adjust the big picture before filling in interiors.
- Use reference images. Find real house photos or floor plans you like and keep them visible while building. The measuring tape tool makes recreating real dimensions straightforward.
- Build from outside-in. Get the exterior shell, roof, and basic landscaping done first. Then move inside for room layouts. This prevents the common mistake of beautiful interiors that don't fit the exterior shape.
- Embrace curved walls for character. Even one curved wall in an otherwise rectangular house adds enormous visual interest. Try a curved feature wall behind the bed or a curved kitchen island.
- Save versions frequently. Use Ctrl+S (or Cmd+S) often, especially before major experiments. If a design goes wrong, you can revert without losing hours of work.
- Test in Live Mode regularly. What looks good in Build Mode might not function well. Can Parafolks actually reach the fridge? Is the bathroom accessible? Toggle to Live Mode every 30 minutes to verify functionality.
- Use consistent ceiling heights. While split levels are great, random ceiling heights in adjacent rooms look odd. Plan which areas get tall ceilings (living room, entry) vs standard ceilings (bedrooms, bathrooms).
- Don't overcrowd. Real homes have empty space. Not every corner needs furniture. Leave breathing room for natural movement and visual rest.
- Layer your lighting. Combine ambient (ceiling lights), task (desk lamps, under-cabinet), and accent (picture lights, sconces) lighting for a professional look.
- Share your builds! Once you're happy with a house, share it to the Steam Workshop or community gallery. Other players love downloading well-designed lots, and feedback helps you improve.