Table of Contents
Curved Walls: Beyond the Basics
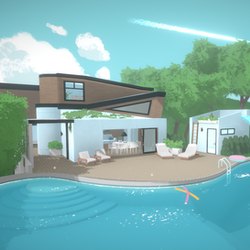
Most players know curved walls let you make round rooms. But the real power move here is architectural flow — using curves to make your builds feel alive instead of just boxy:
- Organic hallways: Connect rooms with curved corridors that feel like natural pathways instead of those rigid, boring straight halls
- Bay windows: Create projecting bay windows with curved wall segments — these look absolutely stunning from the outside and add so much character
- Curved eaves: Match your curved wall foundations with curved roof lines for that cohesive cottage aesthetic. It's a whole vibe.
- Gradual curves: Use multiple subtle curves instead of one dramatic arc for more realistic, organic shapes. Less "futuristic dome," more "actual architecture."
Current Limitation: Windows and doors can't go on curved walls at EA launch (yeah, I know, it's annoying). Plan your exterior around this — curved walls are perfect for blind exterior walls, porches, and decorative facades where you don't need openings anyway.
`n`nThe Separator Tool Mastery
The Separator tool is hands down the most underutilized tool in Build Mode. It creates invisible dividers that let you treat one physical room as multiple visual zones — and once you get the hang of it, you'll wonder how you ever built without it:
Create Split-Level Porches
Drop a separator between your main floor and a porch area. Now each section can have different floor heights, different wallpapers, different ceiling colors — all visible as one seamless space from the doorway. It's like magic.
`n`nConversation Pits
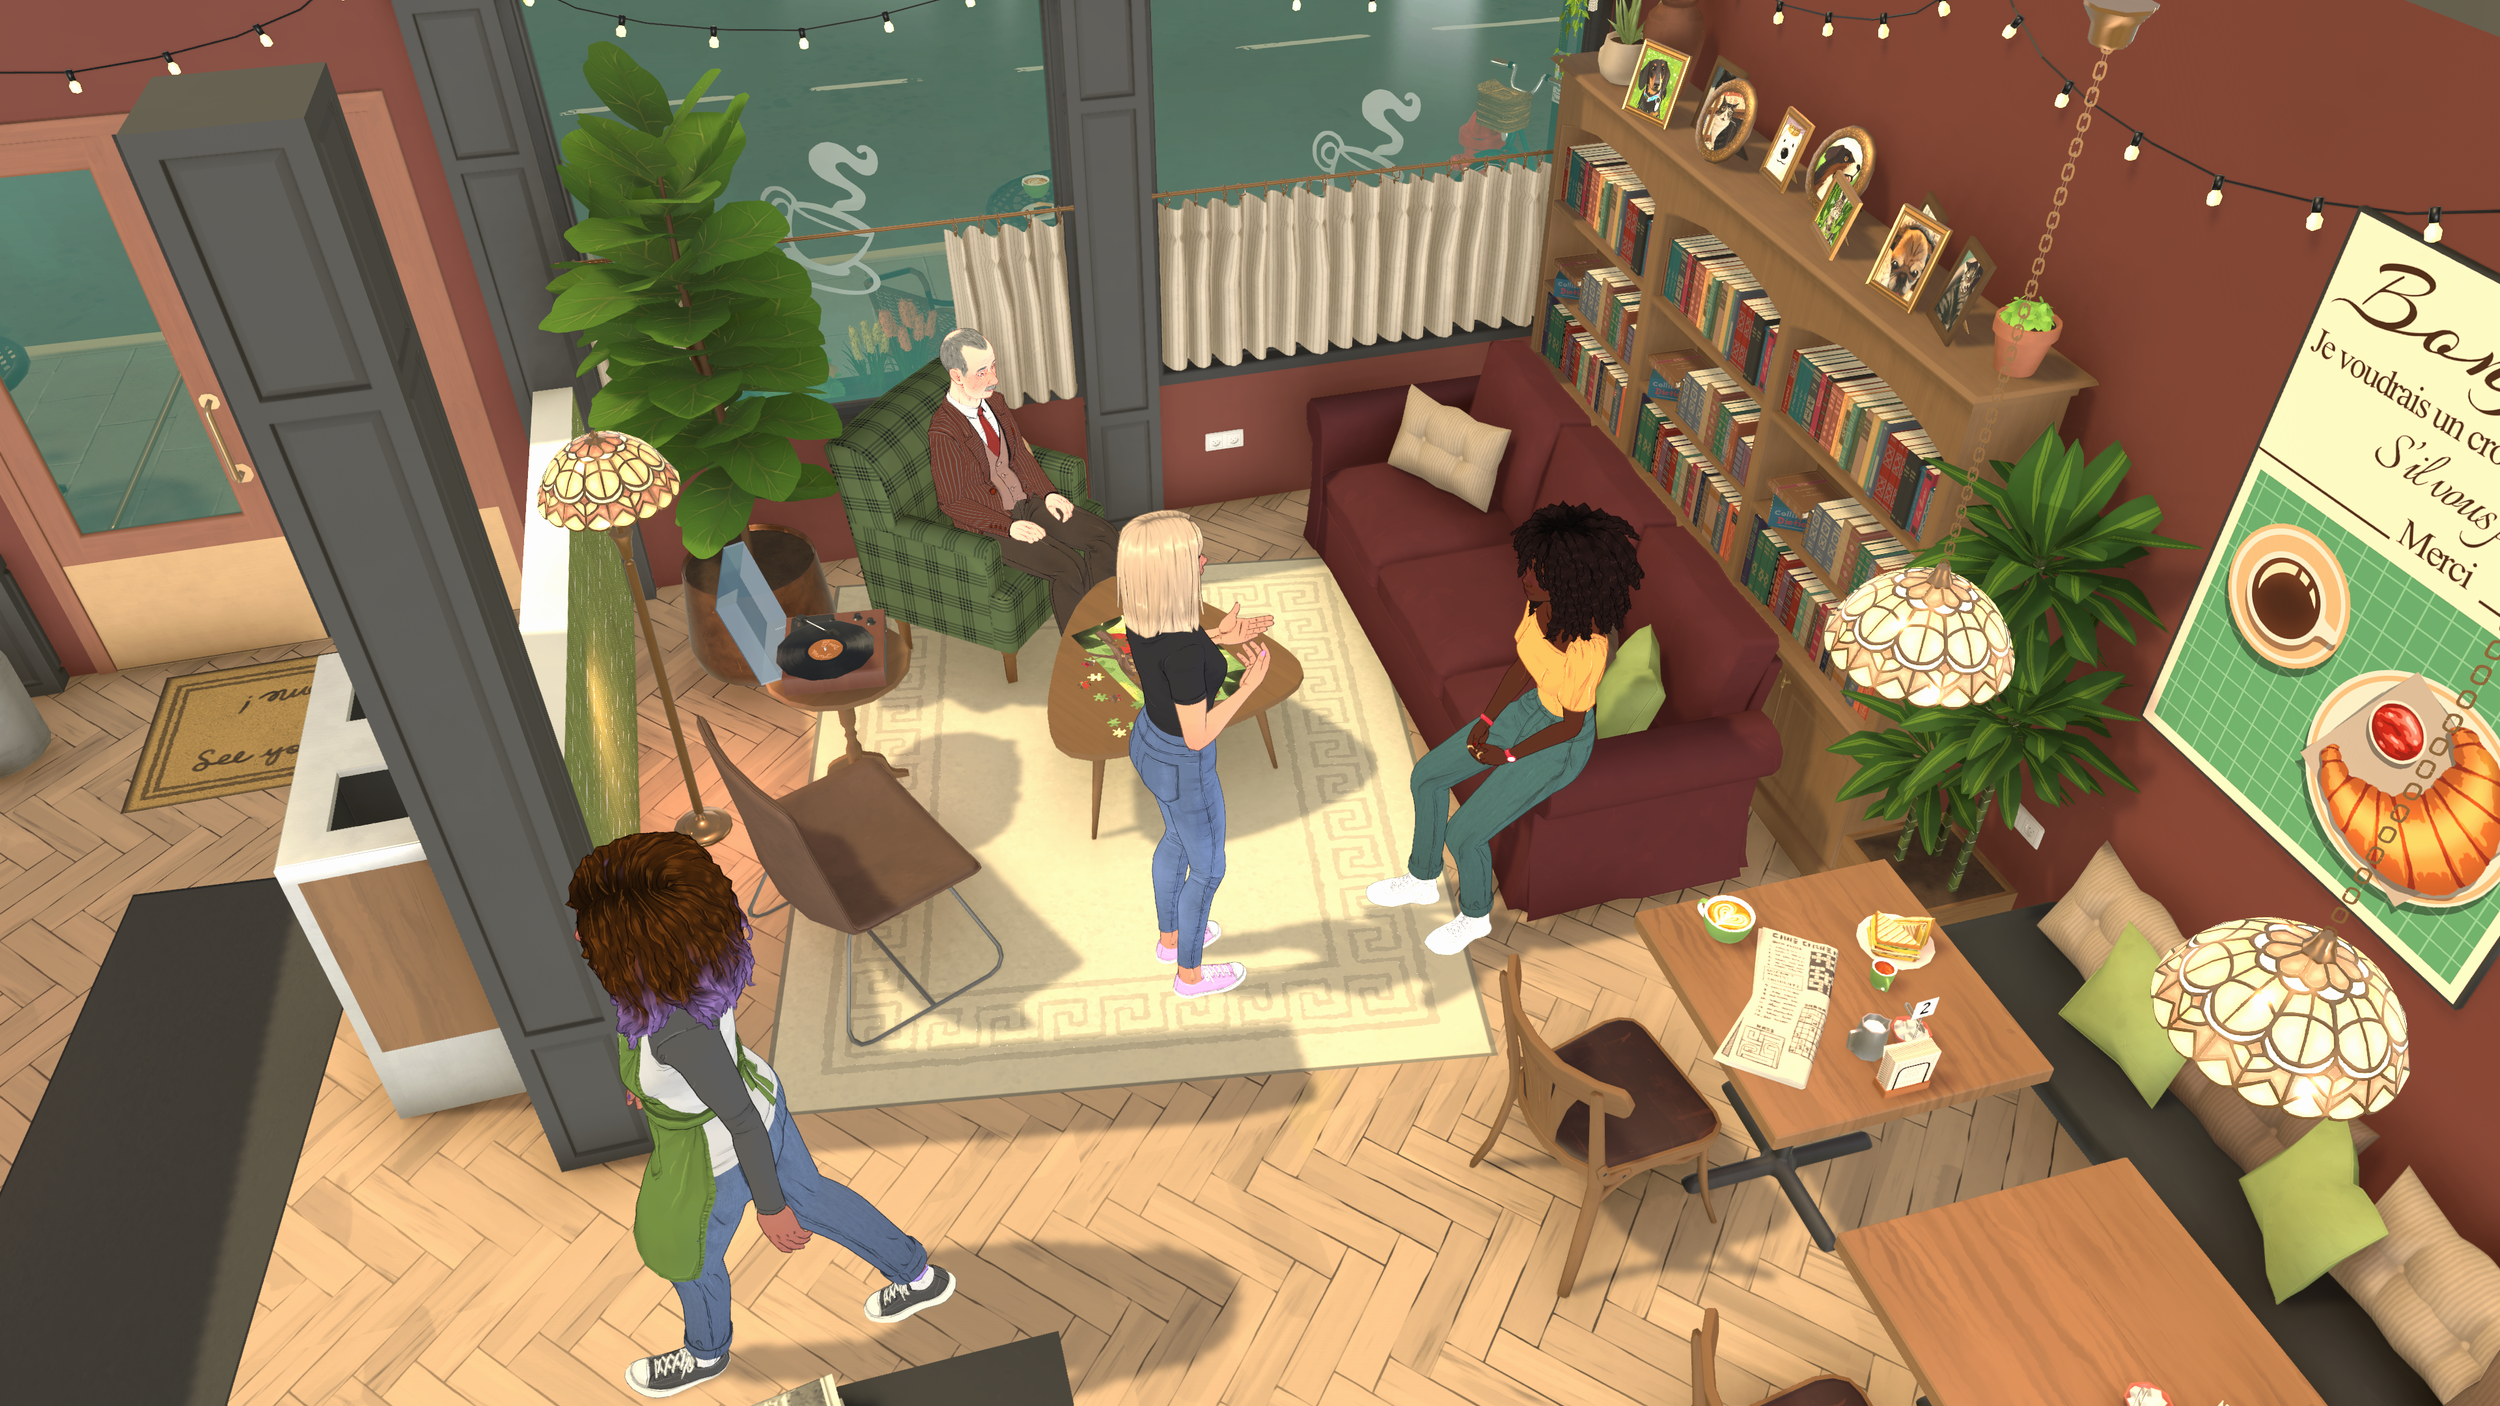
Lower a section by one or two steps using the terrain tool, then use the separator to divide it visually. Your Parafolks will treat it as its own cozy conversation area — that sunken living room look without the headache.
`n`nOpen-Plan Differentiation
In open-plan layouts, use separators to visually break up kitchen, dining, and living areas without blocking sightlines. Each zone gets its own floor color and ceiling treatment. Makes a huge open space feel intentional instead of just... empty.
`n`nBalconies Within Rooms
Raise a section slightly with terrain tools, then use a separator to create the illusion of a mezzanine or sleeping loft that's visible from below — all within one room structure. Perfect for those cozy loft-style bedrooms.
`n`nSplit Levels Done Right
Split levels aren't just for dramatic multi-story mansions. The best uses I've found are actually subtle elevation changes — the kind of thing you barely notice but makes the whole space feel premium:
- A kitchen raised just one step above the living room creates an instant breakfast bar effect without any extra construction. So simple but it looks pro.
- A master bedroom raised 6 inches above the hallway? Instant luxury feel through pure elevation. No extra cost, just smarter building.
- Split levels of just 1-2 inches give visual variety without making navigation feel awkward for your Parafolks
- Use the terrain tool to create 3-4 different platform heights within one floor, then use separators to define each zone. It's like having multiple rooms in one open space.
Color Wheel Advanced Techniques
The color wheel on every single object is honestly one of Paralives' best features. But most people just pick colors randomly. Here's what the pros are actually doing:
- Match furniture to existing items: Use the eyedropper/pipette tool to sample a color from one object and apply it to another for perfect matching. Game changer for cohesive interiors.
- Hex code precision: You can enter exact hex codes for brand colors, movie-accurate recreations, or matching to reference images you found online. Yes, really.
- Gradient walls: Place two wall segments side by side with slightly different shades to create a subtle gradient effect. Looks incredible in person.
- Seasonal furniture sets: Plan seasonal color schemes by making identical furniture pieces in different color families — then swap them out during holidays. Your Parafolks get a home makeover every season.
- Negative space: Use pure white or black furniture against colored backgrounds to create that striking contrast that makes screenshots pop.
Hash Code System
Skip scrolling through the color wheel entirely — seriously. Just use hash codes (#RRGGBB) for instant precise colors. Copy-paste hash codes between objects to recreate exact color schemes across your entire build. Once I discovered this, I never went back to guessing colors.
`n`nFree Placement Secrets
- Stack objects: Place books on books, plates in stacked cabinets, towels in towel racks — all those little details that make a house feel lived-in instead of like a furniture showroom
- Elevation stacking: Stack decorative objects on shelves, then stack shelves on other furniture for those dense, layered displays that look straight out of an interior design magazine
- Half-height placement: Place objects at half-floor elevation to make it look like furniture's built into walls — wall-mounted TVs, floating shelves, that kind of thing
- Tilt objects: Slightly tilt floor lamps, plants, and decor for a more organic feel. Perfectly aligned everything looks... artificial. A little tilt goes a long way.
- Create shadows with objects: Place dark objects strategically near light sources to fake better lighting in your builds. It's a cheap trick but it works wonders for screenshots.
Terrain Tool Creativity
The terrain tools aren't just for basic landscaping — they open up some legit architectural techniques once you start experimenting:
- Integrated foundations: Raise your entire home on a terrain foundation instead of using wall foundations — way more natural look, less boxy. The difference is night and day.
- Garden terracing: Create stepped garden beds at multiple terrain heights, then add separator dividers between each terrace. Makes your outdoor spaces look professionally landscaped.
- Walkout basements: Lower terrain around one side of your home to fake a basement level without complex wall construction (full basement tool coming in a future update, but this works right now)
- Curved landscape beds: Use the sculpt tool for organic, flowing garden shapes instead of rigid geometric rectangles. Nature doesn't do 90-degree angles, and neither should your gardens.
- Fake retaining walls: Place fence segments along terrain height changes to create the appearance of retaining walls or garden borders. Simple but effective.